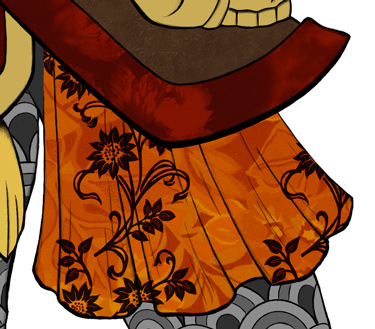
Pattern Overlay Primer
Want to spiff up your digital artwork with fabric prints, metal textures, and so on? Pattern overlays can easily create effects that would be tedious to paint by hand. They are simple to use, surprisingly versatile, and great fun to play around with.
Getting Patterns
Patterns come in two main flavors: pattern files, which are prepackaged for convenient use in image editing software, and stock images that you can paste in manually. Archives like deviantArt have a good selection of both. For a nice variety of fabric photos, check out Thai Silks and Fashion Fabrics Club. And there’s always the old standby of your favorite search engine. Dig deep and grab anything that seems remotely useful. With the tips described later on, a pattern can look quite different in its final context.
Laying Out Patterns
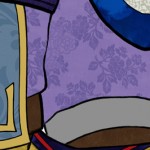 Patterns must fit their underlying surface. Distinct vertical, horizontal, or diagonal elements will seem slapped onto clothing unless you rotate, warp, and distort them appropriately. More organic and open patterns tend to just magically work by staying out of the way. They will not conflict with the form suggested by lines and lighting, so they appear correct with minimal manipulation. The more forgiving patterns need little in the way of transformation, but they sometimes look better when rotated to match the direction of the fabric in the image. This is especially true if the same pattern will be used on several large areas close together.
Break up patterns across adjacent areas that belong to separate elements. Otherwise, the contiguous design may seem wallpapered on.
Blending Patterns
Sometimes a pattern will give you the desired look right out of the box. In other cases, you need to create an effect by blending the pattern with an underlying layer of color.
Paint in your best guess at a flat color, and put the pattern on its own layer above. From there, experiment with layer blending modes and opacity. Normal mode with decreased opacity will let some of the color through. Multiply uses the pattern to darken the underlying color. Overlay mode lightens bright colors and deepens darks – hence increasing contrast – as do Soft Light, Hard Light, and Vivid Light.
This is very much an experimental process, especially when you are just beginning to learn how the layers will interact. You may have to adjust your flat color or slap an adjustment layer above the pattern to fix the color or contrast or whatnot. If the pattern’s color is getting in the way, try desaturating it to black and white.
Seamless Trickery
You can sometimes get more coverage from a fabric snapshot that doesn’t seamlessly tile. If the image has at least one repeated element, try connecting the dots with some digital surgery. This may not produce a full view of the fabric’s pattern, but it can be enough to work with.
 A suitable fabric sample – evenly lit and minimally distorted with a clear repeat to use. The white flower on the middle left border also appears in the upper right corner.
 Paste two copies of the image on separate layers. Set the top layer to Multiply, and scoot it around to match up the repeats as closely as possible. With a dark picture such as this, decreasing the top layer’s opacity might make it easier to see. Prioritize the edges – where we’ll need some adjustments for a seamless look – over the middle of the repeat. In a good sample, this all tends to match up well. A distorted fabric swatch can require some work with transformation tools.
 Set the top layer back to Normal, 100%. Note the corner seam and somewhat lighter color. Time to fix that.
 Add a mask to the top layer. Using a fuzzy brush, paint gray – or black with a pressure-sensitive brush – over the unmatched regions until they seamlessly blend. In this simple case, no other work was needed. Trickier samples may have some awkward parts that can be cleaned up with the clone tool.
 The masked area displayed in red.
Examples
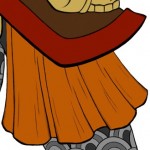
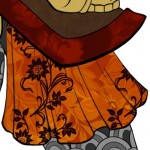
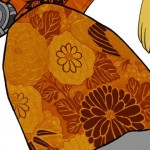
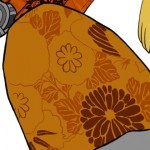
The following snapshots are taken from an in-progress work at the pattern overlay stage. Each unique pattern is placed on a separate layer. Some of the techniques involve Photoshop-specific fill layers and adjustment layers, but the general concepts should be applicable to any similar image editing software.


